

Plain ol' black eye patches are boring.
Here's a kawaii alternative.

These are the materials:
Glue gun
Eye patch (I used a medical type one from my local drugstore)
Cloth (any color)
Marker/pen (for marking fabric)
Scissors
Ruler
Decorations (i.e. buttons, lace, etc.)

First, measure the radius of your eyepatch. (Mine was 1.5 inches long) Don't worry if the eyepatch doesn't look completely circular. We'll fix that.

Then draw a dot on the cloth. Next, draw dots vertically equidistant from this center point. The distance between the center point and the top or bottom point should be the length of the radius you measured. In other words, my dots were 1.5 inches above and below the center.

Repeat the last step but horizontally now. The goal here is to be able to draw a circle by connecting these dots.

Draw a circle. And if it isn't perfect, no worries.

Here's your circle.

Now cut a slit the length of a radius again.
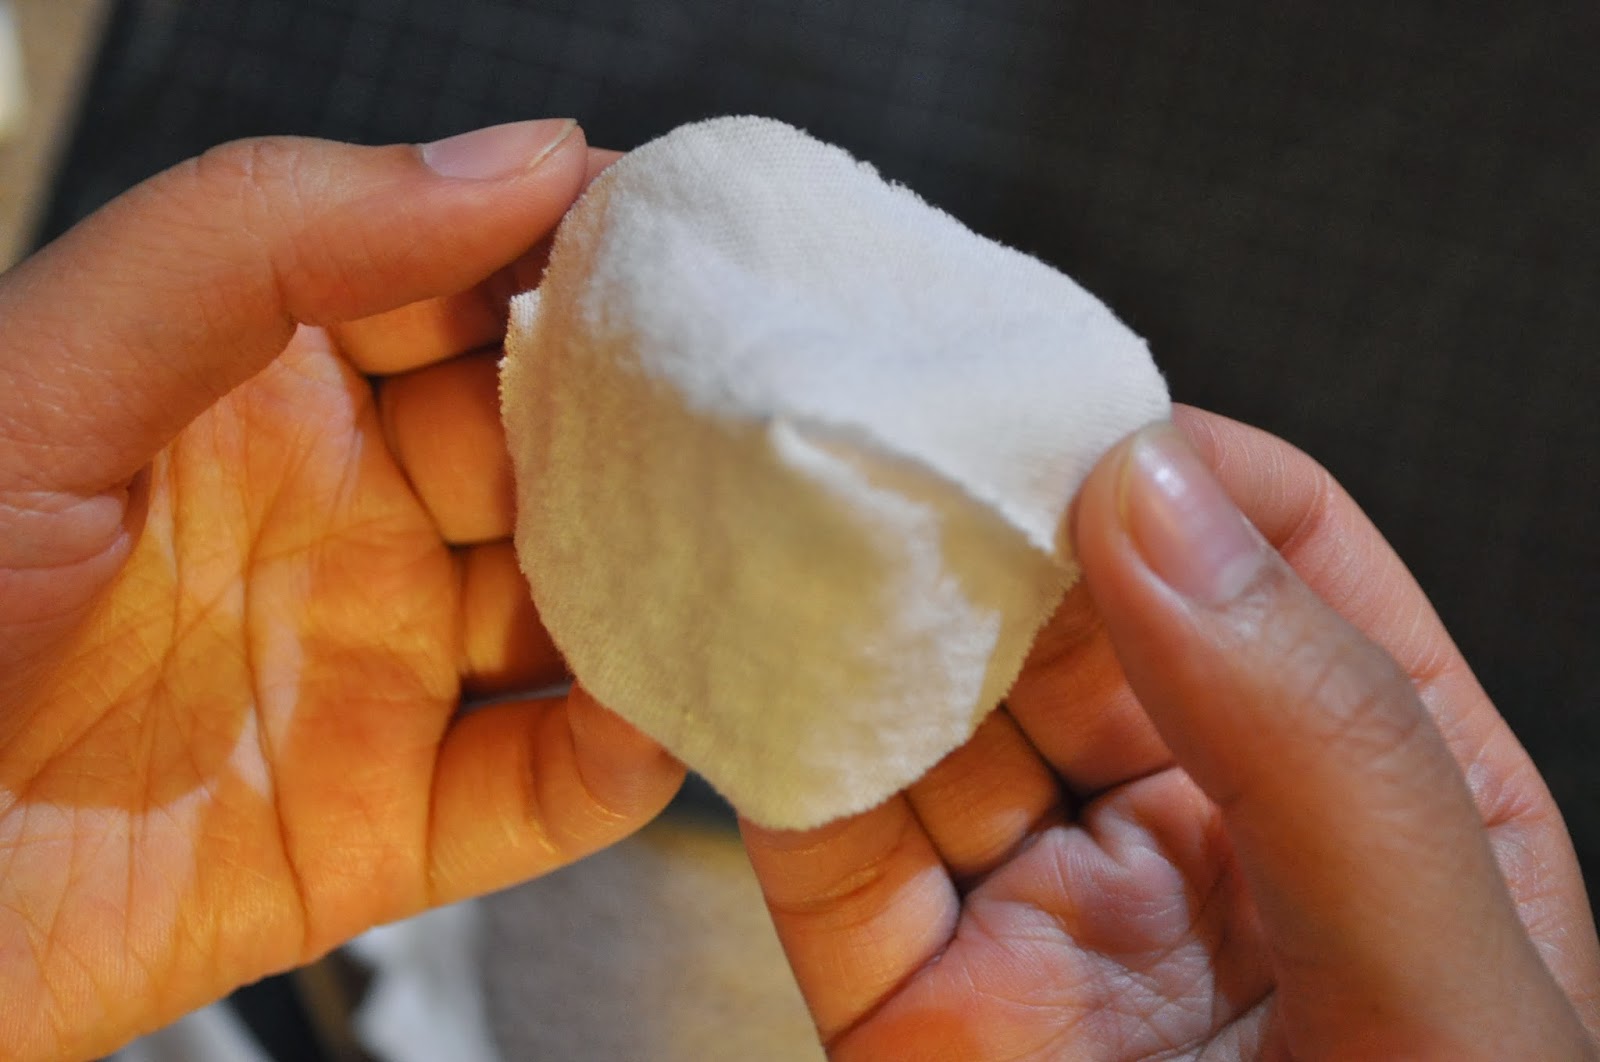
Taking the circle of fabric, fold a wide cone type shape that will fit over your eyepatch. You do this by folding either side of the slit you cut in the previous step over one another. This also will miraculously fit over the non-circular looking eye patch. Crazy right?

Carefully, using your hot glue gun add glue to the surface of your eyepatch (NOT the fabric circle you cut).

Then quickly and carefully glue your fabric cone thing on top of your eyepatch.

Now comes the fun part. Decorate your eyepatch as you please! Make it your own. Here, I added a lace trim by hot gluing it to the edges.
(Tip: If you want to add some ribbon or lace edge, I would suggest gluing the ribbon/lace in small segments because it'll be a bit difficult to form a circular shape with a straight piece of ribbon/lace.)

Writer: Potato
Photographer: Princess & Potato

No comments:
Post a Comment