

Calling all witches, vampires, and other supernatural creatures of the night: here's a spooky look for you that will require no magic spells at all!
Claw nails are all the rage in fashion right now but they're also great for the creepiest, scariest night of the year.

Materials:
Nail polish
Scissors
Scotch tape
Toy capsule container (I'll explain this later!)
Marker or ink pen
Artificial nails (Don't buy nails that are too short!)
Nail glue

Yes, those are indeed fake nails, but don't let the fear of never having applied them before scare you! Here, I have a pack of 100 nails and you can buy these from either your local drugstore (like I did) or a beauty supply store for cheap.

What you'll want to do now then is to pick the fake nails that will fit you own natural nails. Bigger is better in this case because you can always trim them down to better fit your nail bed. Then arrange them neatly so that you don't end up mixing the different sizes later!

Then taking a fake nail, place it on your actual nail and mark the underside of the fake nail so that you know where your natural nail ends. Do this with all your nails.
[Tip: Trimming your nails before applying fake nails is helpful if you want to have sharper
"claws." This will be explained in the next step.]

After that, you'll want to cut an inverted "V" shape on the tips of your fake nails to create the claw look. The line you drew in the previous step will be a good marker for how wide and long your V should be. Repeat with all your nails again.

After you cut them, they'll look like this. I decided to go for a more natural looking shape so I used medium length fake nails. You can go all out though and buy longer nails for more dramatic looking claws. :D

So at this point you might be wondering what the toy capsule container is for. I actually found that using the capsule as a small painting platform was useful for mess-free and easy painting. You use it by putting some tape on the top of the capsule and sticking your nail to it. Of course, if you don't have any capsule containers on hand feel free to use anything you like that is elevated. (The top of a nail polish bottle would work as well!)

Here's me using my small makeshift invention. If you're clumsy like me, this also prevents you from touching the nail polish and smudging it which almost inevitably seems to happen.
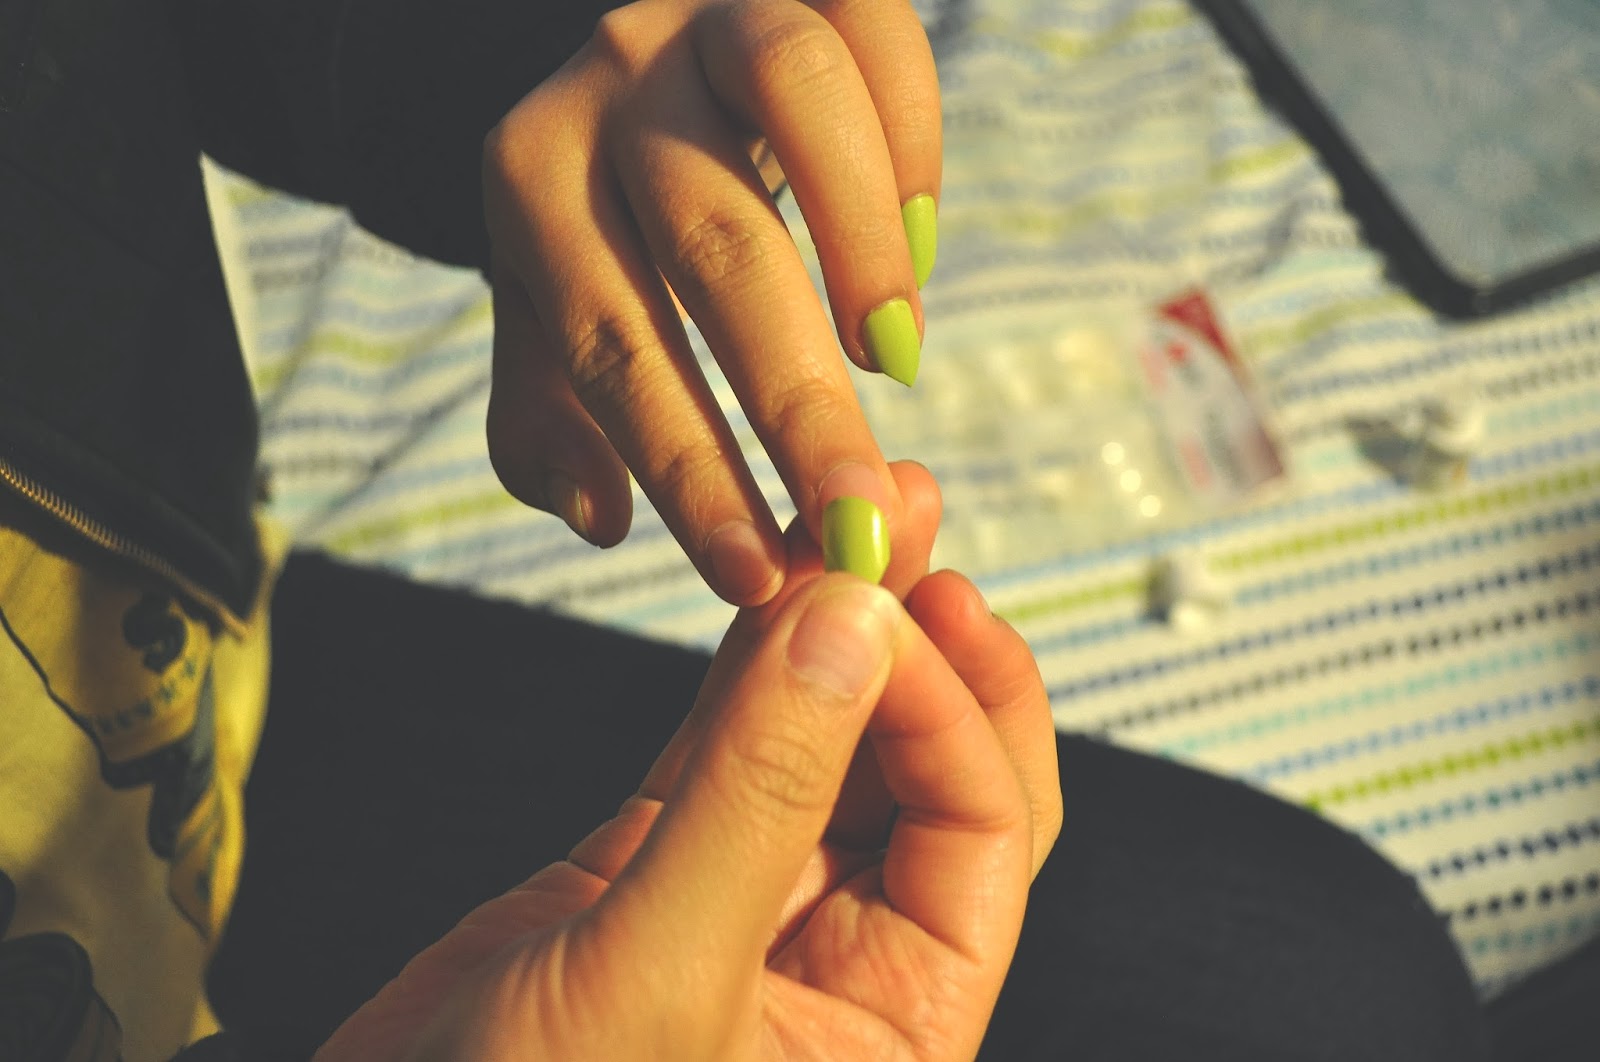
When you're done painting everything, it is time to glue them on (finally!).
To prep your nails, use an acetone nail polish and clean your nails. Take the nail glue and apply a liberal amount to your natural nail. Be careful to not get any glue on yourself! Then quickly and carefully stick your fake nail onto your real one. Repeat with all the nails.

And there you go! Here are my nails. I made them extra special by applying a coat of glow in the dark nail polish on top—perfect for wearing if you're out all night...trick-or-treating that is. ;)
Products: Sally Hansen Hard As Nails Xtreme Wear (110 Green With Envy)
Blackheart Beauty (Major Ranger—it's a glow in the dark nail polish so I suggest using 2 coats.)

I did Potato's nails too! Heehee.
Product: Blackheart Beauty (Party Scene).
Writer: Princess
Photographer: Princess & Potato
Model: Princess & Potato

No comments:
Post a Comment